
Webアプリケーションの脆弱性を衝くSQLインジェクションやクロスサイトスクリプティングを防ぐオープンソースのApache対応WAF(mod_security)を自宅WebサーバーのCentOS7にインストールしてみました。
オープンソースのWAF「Mod Security」のメリットとその導入方法について
まずyum からmod_security 本体、関連ファイルをインストールしてApache を再起動します。
# yum install mod_security mod_security_crs
# systemctl restart httpd
これで、/etc/httpd/modsecurity.d/activated_rules/ ディレクトリにあるルールが作動します。
しかしこれではデフォルトのルールが厳しくCMSの動作に影響が大きいので、設定ファイルを開いて編集します。
# vi /etc/httpd/conf.d/mod_security.conf

↓ コメントアウト
#IncludeOptional modsecurity.d/activated_rules/*.conf

↓ 追記
Include modsecurity.d/activated_rules/modsecurity_crs_41_xss_attacks.conf
Include modsecurity.d/activated_rules/modsecurity_crs_41_sql_injection_attacks.conf

httpd再起動
# systemctl restart httpd
サイトにログインすると403 Forbidden エラーが返ってくるので、偽陽性のテストをしていきます。
CMSの個別操作に対してエラーID を例外処理するため、SecRuleEngine OnをコメントアウトしてSecRuleEngine DetectionOnly を追記、httpd再起動・・・。
# vi etc/httpd/conf.d/mod_security.conf


#SecRuleEngine On
SecRuleEngine DetectionOnly

# systemctl restart httpd
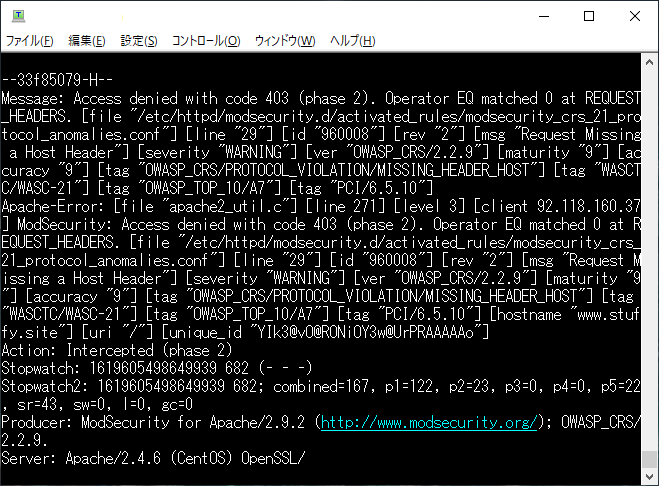
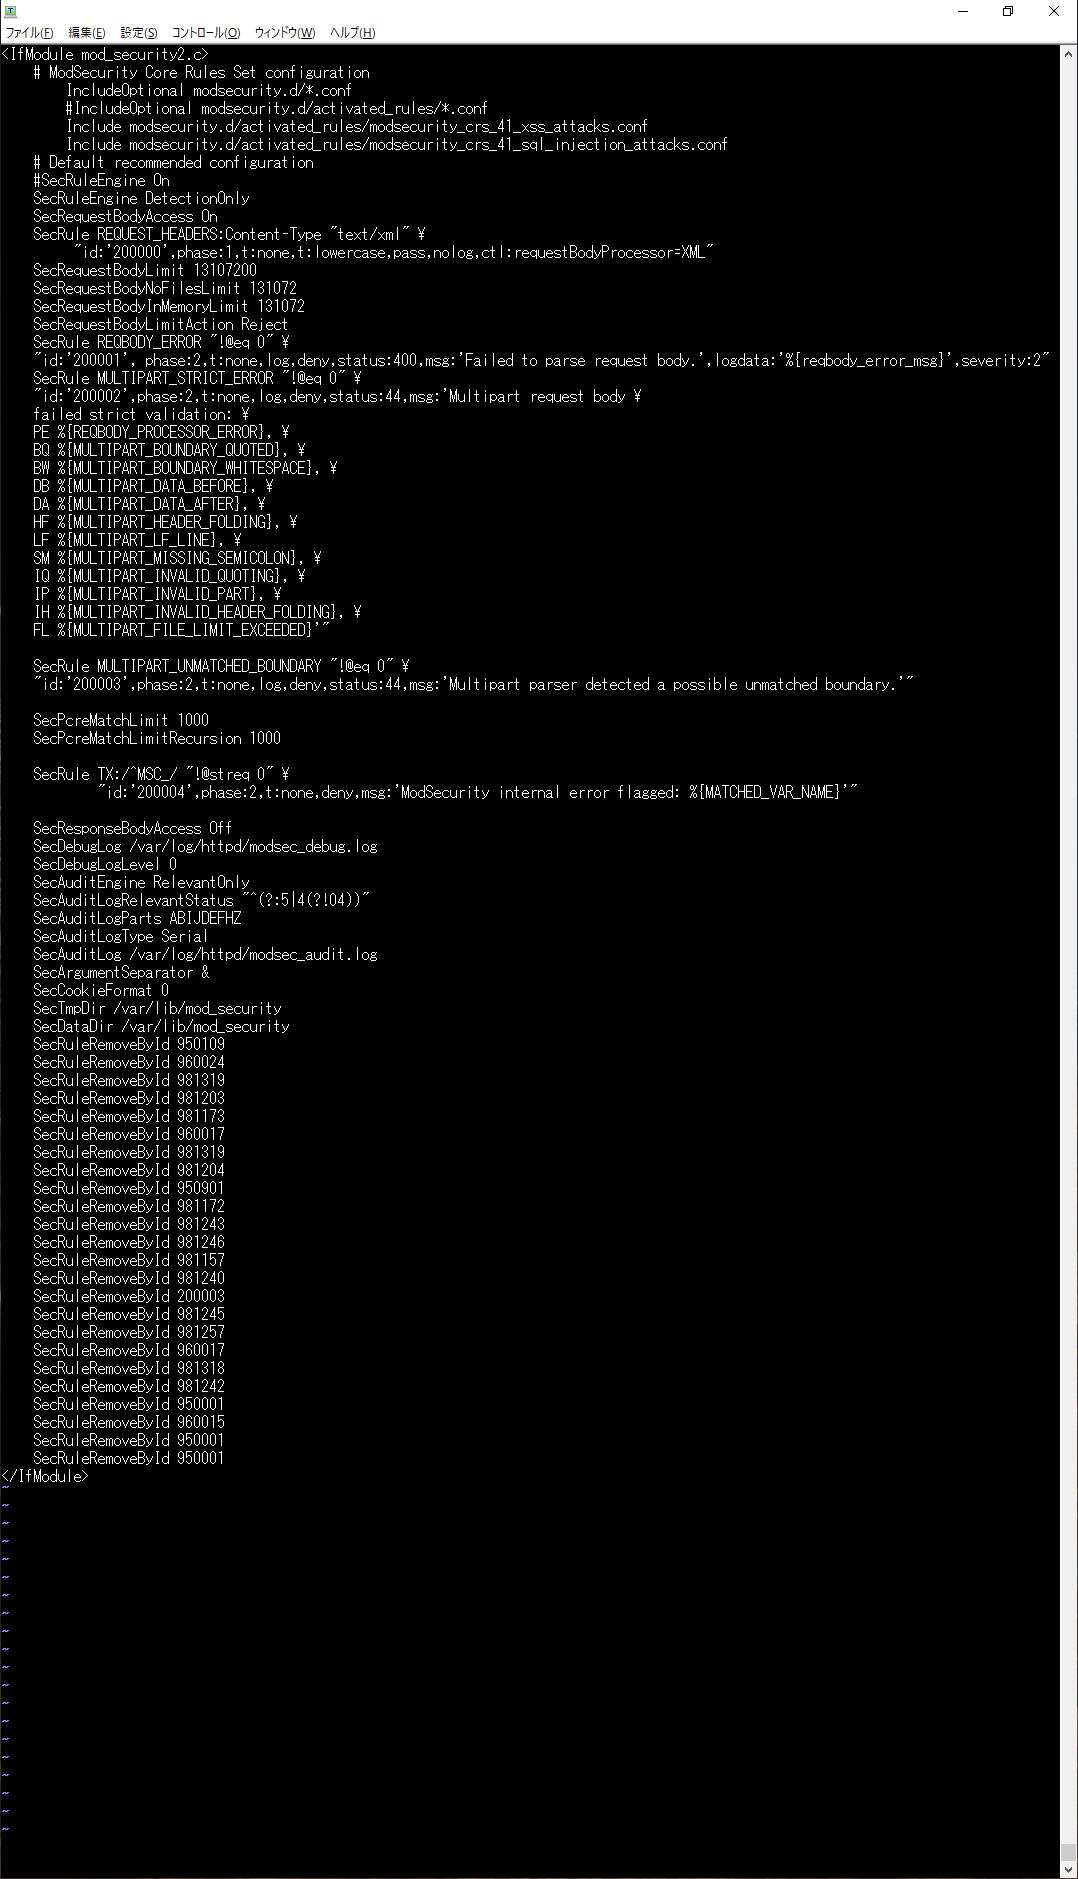
ブロックしているIDをログファイル(/var/log/httpd/modsec_audit.log)から探して、設定ファイルの最下行に
SecRuleRemoveById 960008
という様に追記して行きます。
/var/log/httpd/modsec_audit.log
/etc/httpd/conf.d/mod_security.conf 最下行にIDを追記
SecRuleEngine On して httpdを再起動してエラーが出なくなれば作業完了です。
お疲れさまでした。