
今回は、PHPの開発環境 Laravel をRocky Linux8 のApacheのバーチャルホストにインストールしてログインUIを作ってみました。
Laravel v10.3.3
PHP v8.1.16
Node.js v19.8.1
npm v9.6.2
前提としてバーチャルホスト設定(Apache) | CentOSで自宅サーバー でApacheバーチャルホスト構築済みです。
| ESXiホスト | FQDN | DNSレコード |
| 公開サーバー | www.example.com |
A 10.0.1.2 |
| バーチャルホスト | proxy.example.com | CNAME www.example.com. |
| DBサーバ | mysql.example.com | A 172.16.1.100 |
参考にしたサイトは CentOS 8にLaravelをインストールする方法
初めにPHP と Node.js yarn をパッケージからまるっとインストール。
# dnf install php php-curl php-bcmath php-dom php-xml php-mbstring php-json

# curl -sL https://rpm.nodesource.com/setup_19.x | bash -

# curl -sL https://dl.yarnpkg.com/rpm/yarn.repo | sudo tee /etc/yum.repos.d/yarn.repo

# yum -y install nodejs gcc-c++ make yarn
続いておもむろにPHP Composerをインストール、ユーザー appapi を作成しました。
# curl -sS https://getcomposer.org/installer | php

# mv composer.phar /usr/local/bin/composer

# chmod +x /usr/local/bin/composer

# useradd appapi

# passwd appapi
su – コマンドで appapi になりホームディレクトリにおいて Laravel をインストール。
# su - appapi

$ pwd
/home/appapi

$ composer create-project laravel/laravel live

$ cd live

$ php artisan key:generate

Application key set successfully.
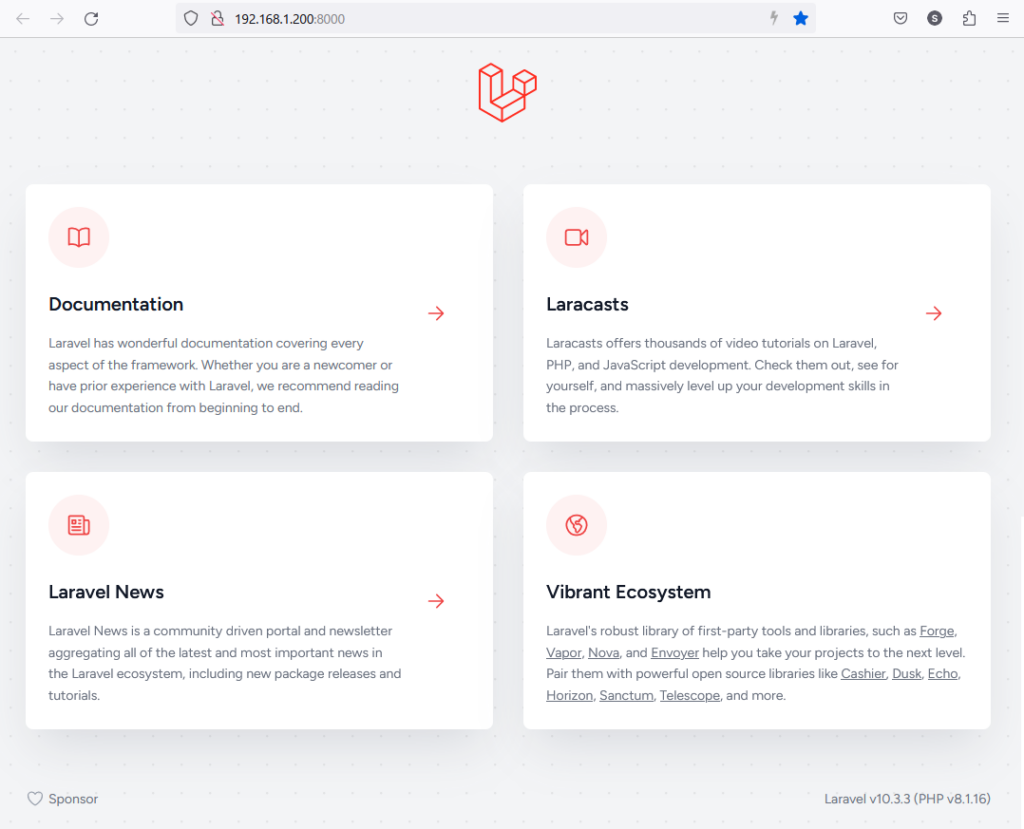
最後に、serve コマンドで Laravel を起動すると ローカルホストをブラウザで確認できました。
$ php artisan serve --host localhost --port=8000
  INFO  Server running on [http://192.168.1.200:8000].

  Press Ctrl+C to stop the server
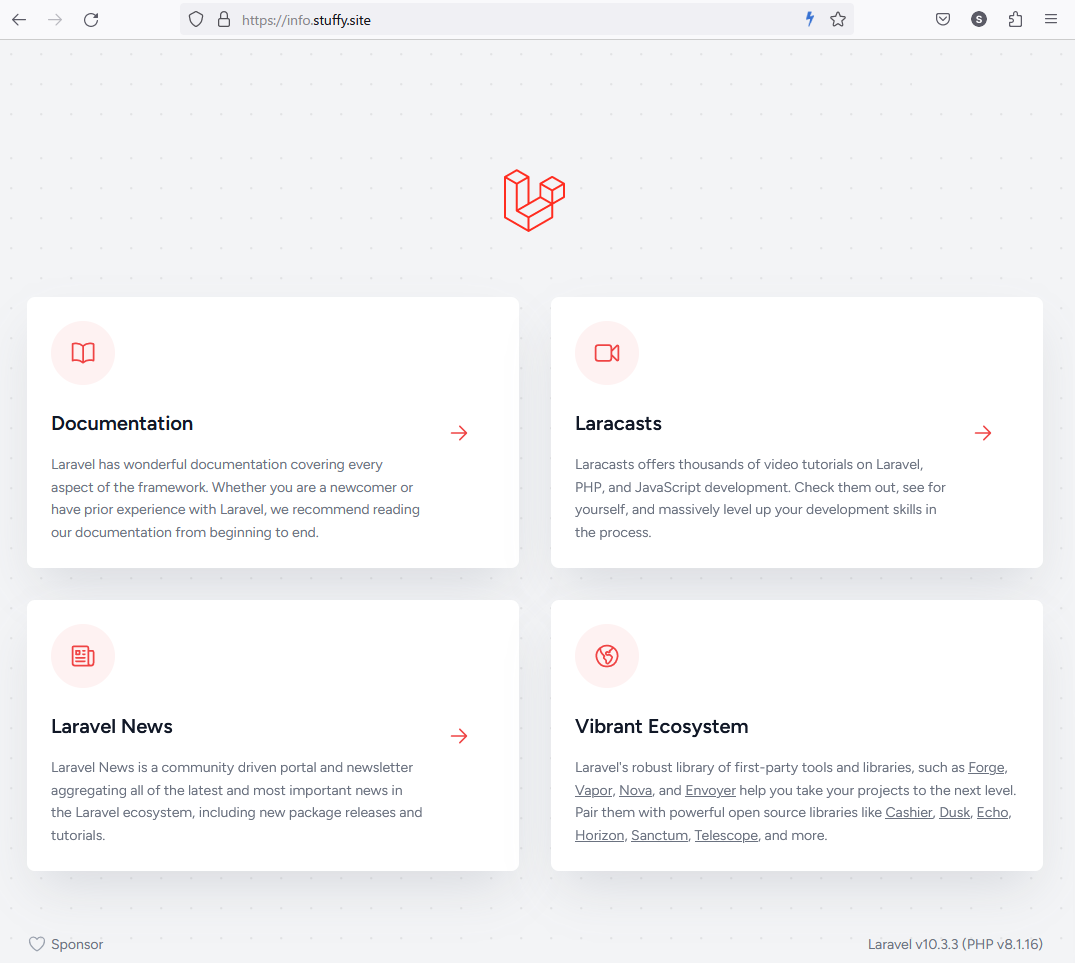
これを以下の /etc/httpd/conf.d/laravel.conf ファイルでリバースプロキシ設定して serve ホストを0.0.0.0 で起動し直すとhttpsプロトコルでも通信できるようになりました。
# vi /etc/httpd/conf.d/laravel.conf

<VirtualHost *:80>
    ServerName proxy.example.com
    DocumentRoot /var/www/html/laravel

    RewriteEngine on
    RewriteRule "^/.well-known/acme-challenge" "-" [END]
    RewriteRule "^/(.*)" "https://%{HTTP_HOST}/$1"
  <Directory /home/appapi/live>
        AllowOverride All
  </Directory>
</VirtualHost>

<Proxy *>
    Require all granted
</Proxy>

ProxyPreserveHost on
ProxyRequests off

<VirtualHost *:443>
RequestHeader set X-Forwarded-Proto "https"
ProxyPass "/" "http://127.0.0.1:8000/"
ProxyPassReverse "/" "http://127.0.0.1:8000/"

・
・
・
.
Apache Laravel 再起動。
# systemctl restart httpd
$ php artisan serve --host 0.0.0.0 --port=8000
リモートホストでもHTTPSでウェルカムページが表示されました。
.
一歩前進したので Laravel で簡単なログインUIを作ってみました。
まず root 権限で appapi ユーザーと sampledb データベースを作成してアクセス権限を与えます。
# mysql -h mysql.example.com -u root -p
Enter password:
Welcome to the MariaDB monitor.  Commands end with ; or \g.
Your MariaDB connection id is 11482
Server version: 10.5.18-MariaDB MariaDB Server

Copyright (c) 2000, 2018, Oracle, MariaDB Corporation Ab and others.

Type 'help;' or '\h' for help. Type '\c' to clear the current input statement.

MariaDB [(none)]> CREATE USER appapi IDENTIFIED BY 'password1234';

Query OK, 0 rows affected (0.001 sec)

MariaDB [(none)]> create database sampledb default character set utf8 collate utf8_general_ci;

Query OK, 1 rows affected (0.001 sec)

MariaDB [(none)]> grant all on sampledb.* to appapi@`proxy.example.com` identified by 'password1234';

Query OK, 0 rows affected (0.001 sec)

MariaDB [(none)]> flush privileges;
Query OK, 0 rows affected (0.001 sec)
.
次に作業ディレクトリにて .envファイルを編集します。
$ vi .env
APP_NAME=Laravel
APP_ENV=local
APP_KEY=xxxxxxxxxxxxxxxxxxxxxx
APP_DEBUG=true
APP_URL=https://proxy.example.com

DB_CONNECTION=mysql
DB_HOST=mysql.example.com
DB_PORT=3306
DB_DATABASE=sampledb
DB_USERNAME=appapi
DB_PASSWORD=password1234
続いてデータベース migrate コマンドでユーザーテーブルを作成、ログインUI をインストールします。
$ php artisan migrate

$ composer require laravel/ui

$ php artisan ui vue --auth
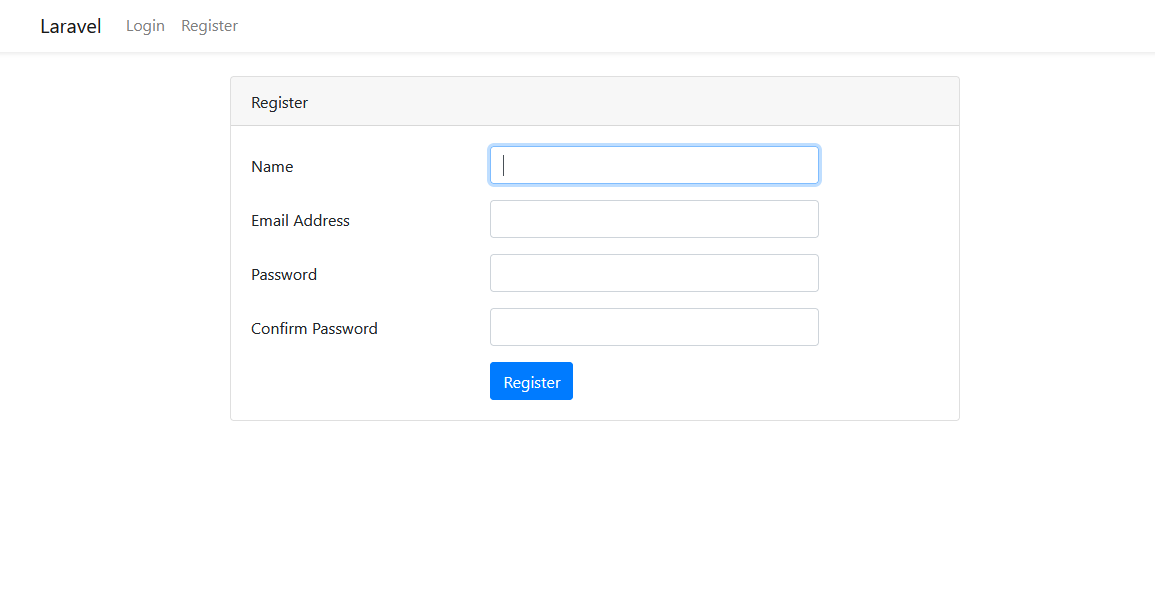
インストール完了すると npm の実行コマンドが表示されるので実行します。
$ npm install && npm run dev
最後にブラウザでログインUIを確認することができました。
.
ログインフォームのSSLをするには、.app/Http/Middleware/TrustProxies.phpを書き換えなければなりませんでした。具体的には、
$ vi .app/Http/Middleware/TrustProxies.php
<?php

namespace App\Http\Middleware;

use Illuminate\Http\Middleware\TrustProxies as Middleware;
use Illuminate\Http\Request;

class TrustProxies extends Middleware
{
    /**
     * The trusted proxies for this application.
     *
     * @var array<int, string>|string|null
     */
    protected $proxies = '*';

    /**
     * The headers that should be used to detect proxies.
     *
     * @var int
     */
     protected $headers = Request::HEADER_X_FORWARDED_FOR | Request::HEADER_X_FORWARDED_HOST | Request::HEADER_X_FORWARDED_PORT | Request::HEADER_X_FORWARDED_PROTO;
}
Laravel 停止は ps ax | grep 8000 で プロセス「php artisan serve –host 0.0.0.0 –port=8000」をPIDから kill -9
npm 停止は pgrep npm | xargs kill または [Ctrl]+[C] です。
参考URL:Laravelのログイン認証の基本(Authentication)を完全理解する
Laravel 6.0 で「make:auth」が利用できなくなったので、対応方法記載します。
【Laravel / Chrome】送信しようとしている情報は保護されません